There’s something special about pulling a fresh loaf of homemade bread from the oven. That golden crust, the wonderful smell filling the kitchen, and the thought of spreading a little butter on a warm slice are hard to resist.
Few things feel quite as comforting as sharing homemade bread with family.
But if you’ve ever tried baking bread from scratch, you know things don’t always go according to plan. Sometimes the dough refuses to rise. Other times, a loaf looks beautiful on the outside but turns out dense or gummy in the middle.
The good news? Many common bread-baking mistakes come down to simple misunderstandings about flour, yeast, proofing, and baking temperatures. Once you know what to watch for, making homemade bread becomes much less intimidating.
Here are seven things home bakers often get wrong about baking bread, along with practical tips to help you get better results.
Love simple, delicious recipes? Join our email list for more easy meals made for real kitchens and real life, seasonal favorites, and kitchen tips sent straight to your inbox. We’d love to cook with you!
1. Thinking More Flour Always Makes Better Dough
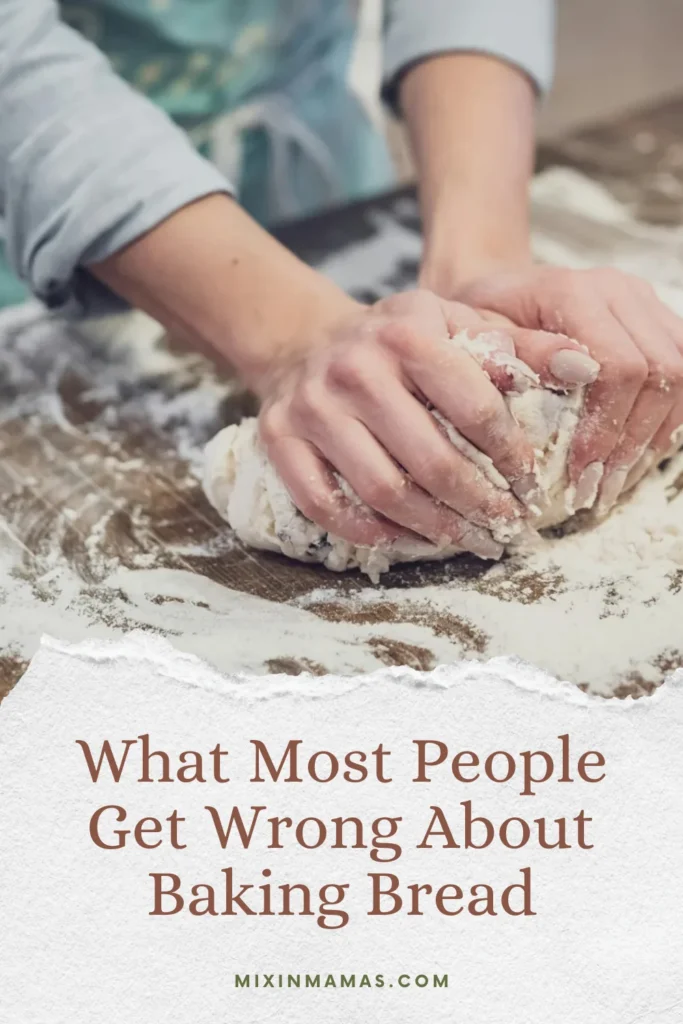
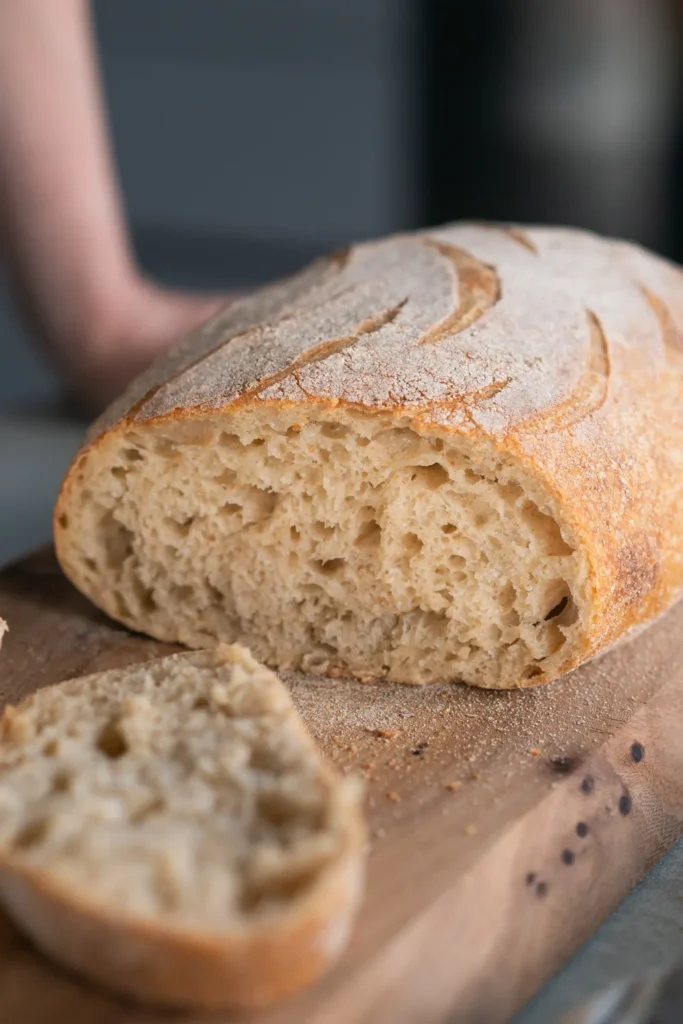
One of the biggest mistakes beginners make is adding too much flour. Bread dough can feel sticky and messy, especially when you first start kneading. It’s tempting to keep sprinkling flour onto the counter until the dough becomes easier to handle.
Unfortunately, adding too much flour can produce dry, dense bread. Different types of flour absorb different amounts of water, and even the way you measure flour can affect the consistency of your dough.
Instead of adding extra flour immediately, give the dough a few minutes to rest so the flour has time to absorb the liquid. You may find that the dough becomes easier to handle without adding anything.
If it still feels excessively sticky, add flour a little at a time. Keep in mind that some bread recipes naturally produce wetter, stickier dough than others.
Some recipes are meant to have a wetter dough. Our Artisan No-Knead Cheddar Bread is a great example. It starts with sticky dough and uses a long overnight rest instead of traditional kneading.
Helpful tip: For more consistent results, measure your flour by weight using a kitchen scale. Scooping flour directly from the bag can pack more into your measuring cup than the recipe intended.
2. Assuming Bread Dough Needs a Really Warm Place to Rise
You’ve probably heard that bread dough needs warmth to rise. That’s true, but warmer isn’t always better.
Yeast ferments sugars in the dough, producing carbon dioxide that helps the dough expand. Temperature affects how quickly this process happens, but that doesn’t mean you need to find the hottest spot in your kitchen.
For many everyday yeast breads, a comfortable room temperature works perfectly well. Dough may take longer to rise in a chilly house, but that doesn’t necessarily mean anything has gone wrong.
Excessive heat, on the other hand, can damage or kill yeast and prevent the dough from rising properly.
Avoid placing dough directly against a heater or inside an oven that’s still hot from earlier cooking.
If your kitchen is particularly cool, you can try placing the dough inside a turned-off oven with the light on. Just check the temperature first, since some oven lights generate more heat than you might expect.
Remember, a slower rise isn’t always a bad thing. Longer fermentation can even help develop more flavor in certain breads.
3. Treating Proofing Times Like Strict Rules
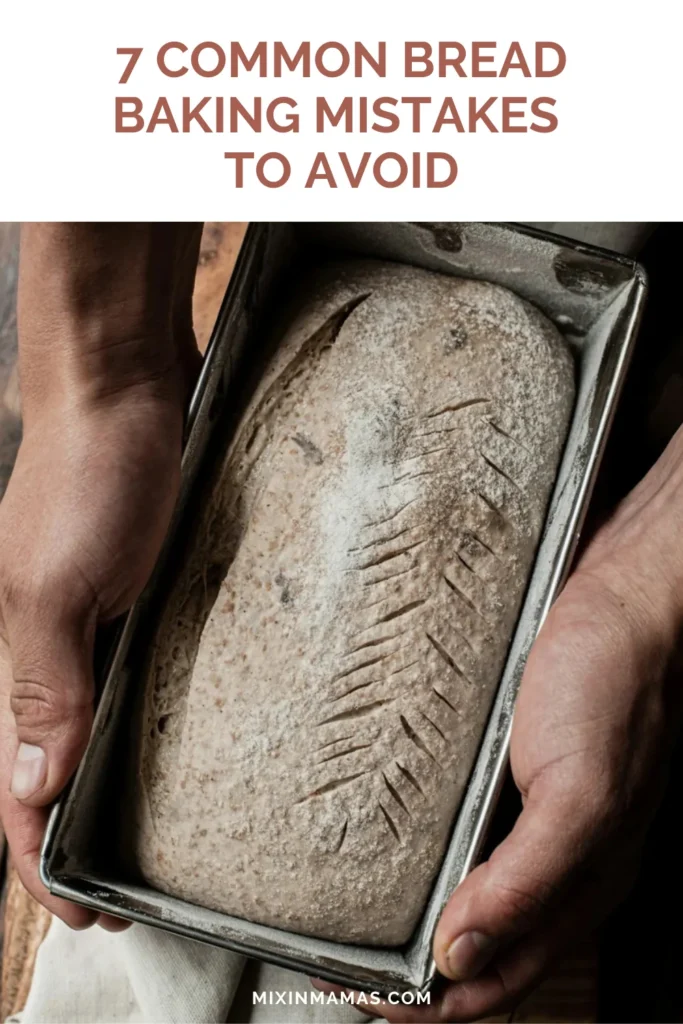
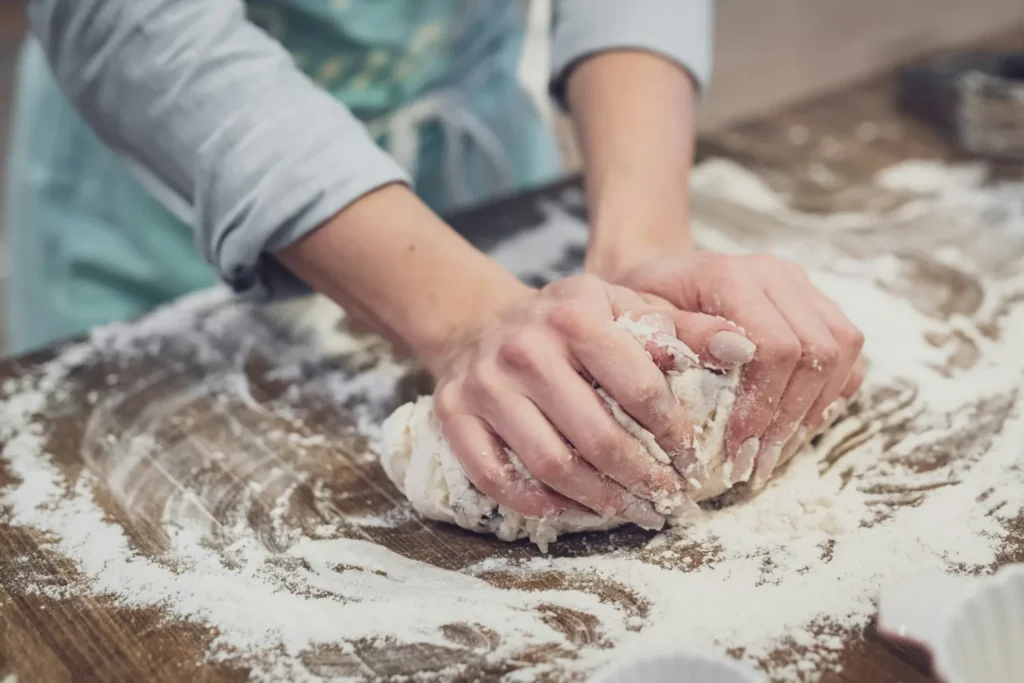
Bread recipes frequently tell you to let dough rise for one hour or until it doubles in size. Many home bakers focus entirely on the clock, but bread dough doesn’t follow an exact schedule.
Room temperature, dough temperature, the amount of yeast, and the ingredients in your recipe can all affect how quickly dough rises. Two batches of the same recipe might need different amounts of time.
Our Copycat Good Seed Bread is a good example of why patience matters. Much of the preparation time is spent letting the dough rise and rest rather than actively working with it.
To master the art of bread proofing, it helps to understand how temperature and moisture affect the process. Learning to recognize changes in your dough is often more useful than watching the clock.
During the final rise, you can sometimes use a gentle finger-press test to help determine whether the dough is ready for baking.
Lightly flour your finger and gently press into the surface of the dough.
- If the indentation springs back immediately: The dough may need more time to proof.
- If the indentation slowly fills in but leaves a slight impression: The dough is often ready for the oven.
- If the dough collapses or the indentation remains deep: The dough may be overproofed.
This test isn’t equally reliable for every type of bread, particularly very wet doughs or certain enriched breads. Still, it can be a useful guide when combined with the instructions in your recipe.
With practice, you’ll become more comfortable recognizing how properly proofed dough looks and feels.
4. Thinking Yeast Is Always the Problem When Bread Doesn’t Rise
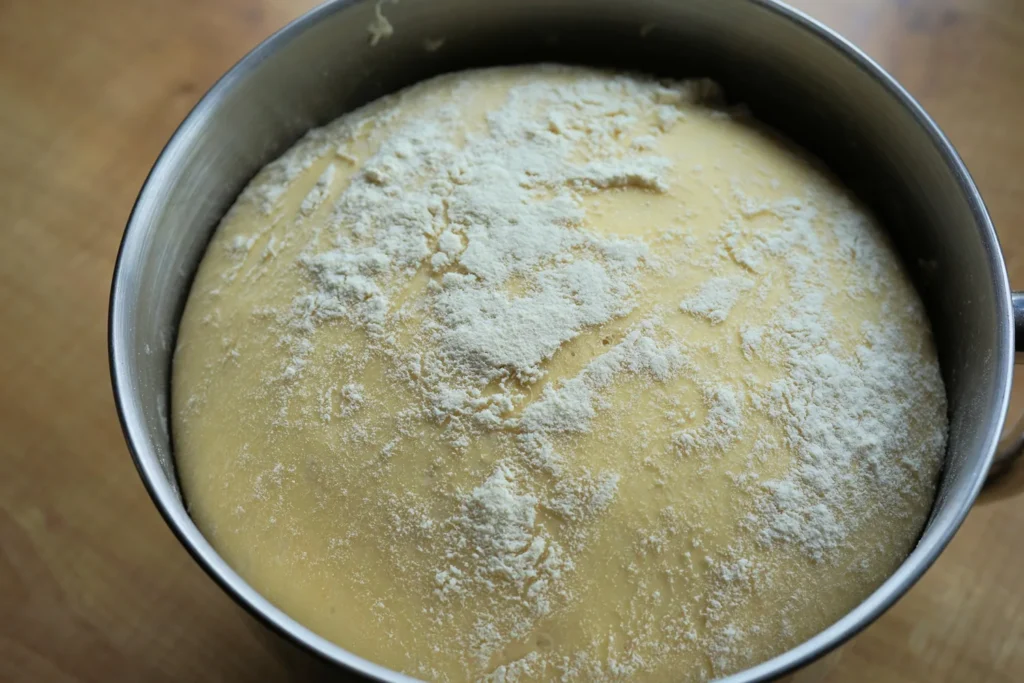
When bread dough refuses to rise, it’s easy to assume the yeast is bad.
Sometimes that’s the problem. Old yeast or yeast that hasn’t been stored properly may lose its effectiveness. However, there are several other reasons your dough might not be rising.
Water that’s too hot can damage yeast, while cold dough may simply need more time. Accidentally adding too much salt can also slow yeast activity.
Before throwing away a batch of dough, think about the ingredients you used and the conditions in your kitchen.
Was the water unusually hot? Is your kitchen colder than normal? Did you measure the ingredients carefully?
If the dough is rising slowly but still showing signs of activity, giving it more time may be all that’s needed.
Helpful tip: If you’re unsure whether your active dry yeast is still usable, you can test it in a little warm water with a pinch of sugar. If it becomes noticeably foamy after about 5–10 minutes, that’s a good sign it’s active. Follow your recipe’s directions when incorporating yeast into the dough.
A little troubleshooting can save an entire batch of bread and help you avoid the same mistake next time.
5. Assuming All Bread Flour Is Basically the Same
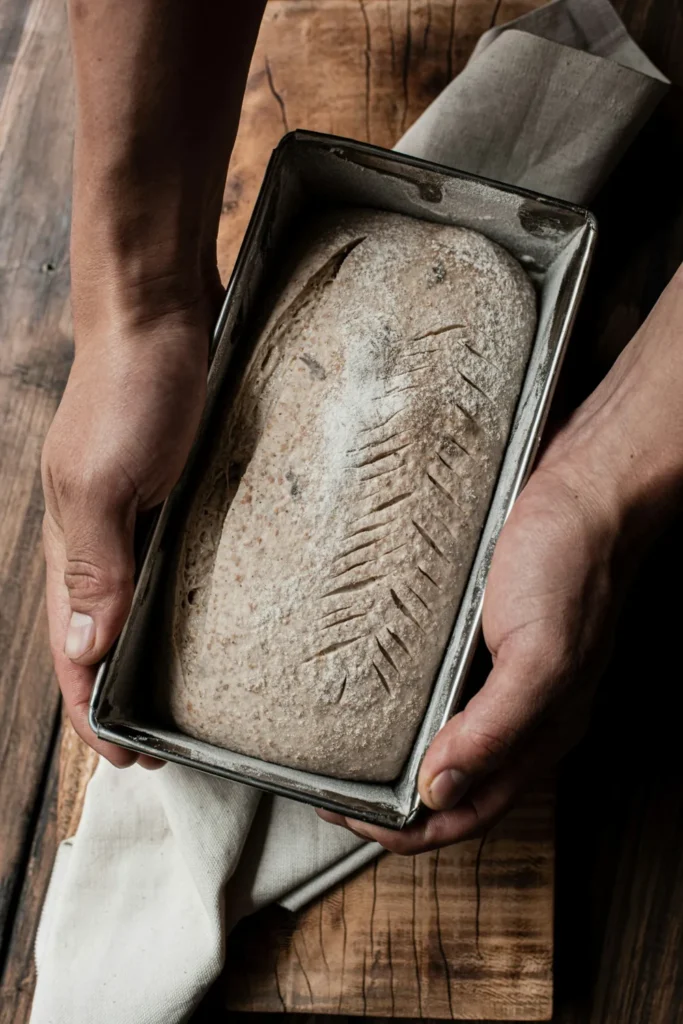
Flour might seem like a simple ingredient, but the type you choose can make a noticeable difference in your finished bread.
All-purpose flour works well for many everyday bread recipes, including sandwich loaves and dinner rolls.
Bread flour typically contains more protein, which helps form a stronger gluten network. This can give bread a chewier texture and help the dough hold its structure.
Whole wheat flour behaves differently because it contains the bran and germ of the wheat kernel. It often absorbs more water and can produce a denser, heartier loaf.
It’s also worth remembering that not every homemade bread relies on yeast. Our Cranberry Walnut Soda Bread uses baking soda for leavening, making it a lovely option when you want homemade bread without waiting for a yeast dough to rise.
These differences affect how your dough feels, how it rises, and the texture of the finished bread.
For soft dinner rolls, all-purpose flour may work beautifully. For a chewy artisan-style loaf, bread flour may provide the texture you’re looking for.
When trying a new bread recipe, start with the type of flour the recipe recommends. Once you’ve made it successfully, you can experiment with substitutions and adjustments.
6. Judging Bread Only by Its Crust
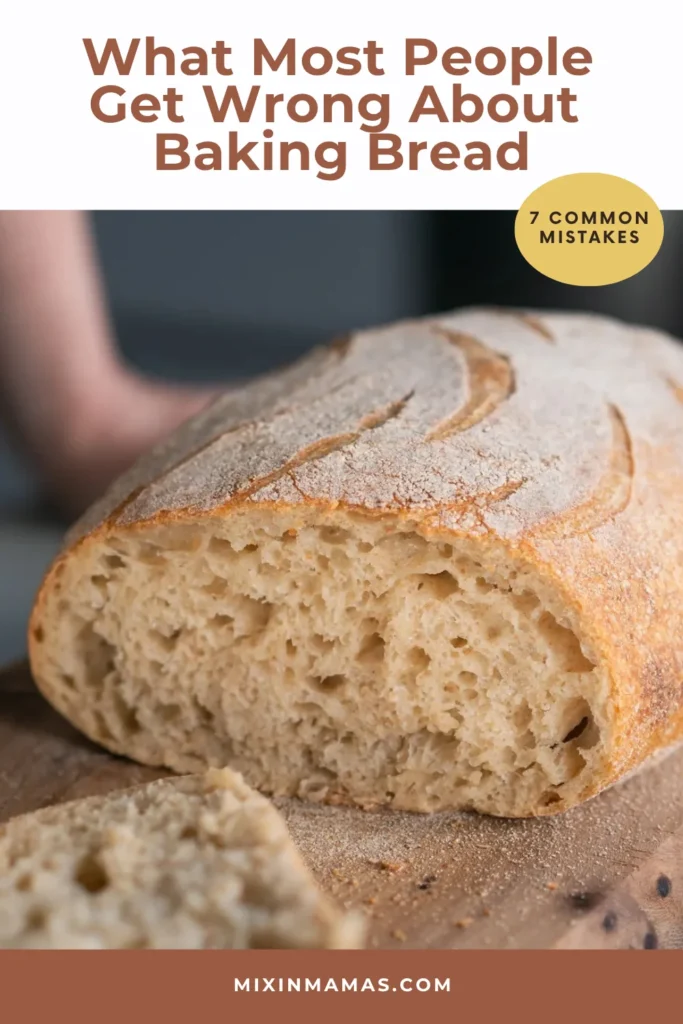
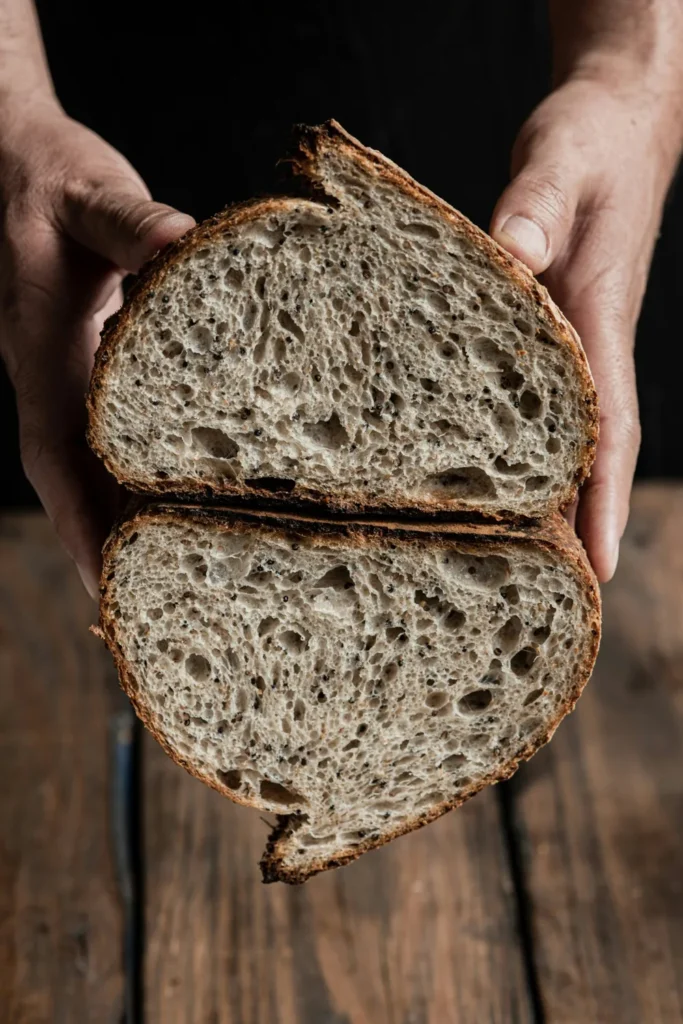
There’s nothing quite like a beautifully browned loaf of homemade bread. Unfortunately, a golden crust doesn’t always mean the bread is fully baked inside.
Sometimes the outside browns before the center has finished cooking. This can be especially tricky with larger loaves or breads containing ingredients such as milk, butter, or sugar.
An instant-read thermometer can help you check whether your bread is done without relying on appearance alone.
Many lean yeast breads finish baking at an internal temperature of approximately 200–210°F, while some enriched breads are done closer to 190–200°F. These are general guidelines rather than universal rules, so follow the recommendations for your particular recipe.
To check the temperature, insert the thermometer into the center of the loaf, avoiding contact with the baking pan.
If the crust is browning too quickly but the center needs more time, loosely cover the loaf with aluminum foil and continue baking.
This simple adjustment can help prevent an overly dark crust while giving the inside enough time to finish cooking.
7. Slicing Bread Immediately After Baking
Freshly baked bread smells incredible, and waiting to cut into it can feel almost impossible.
Unfortunately, slicing a loaf too soon can affect its texture.
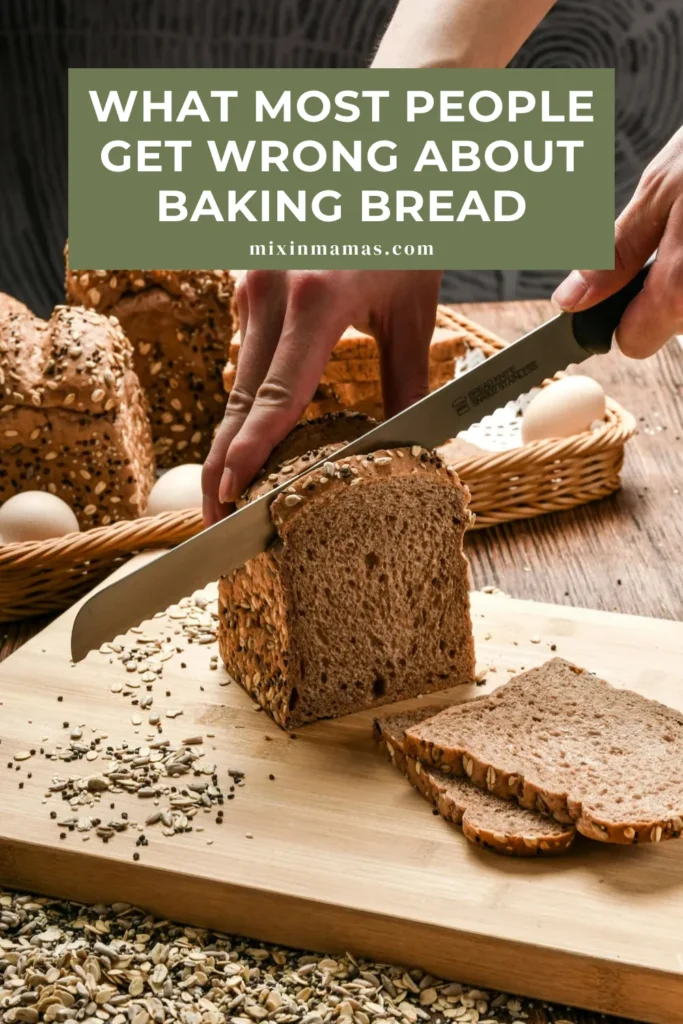
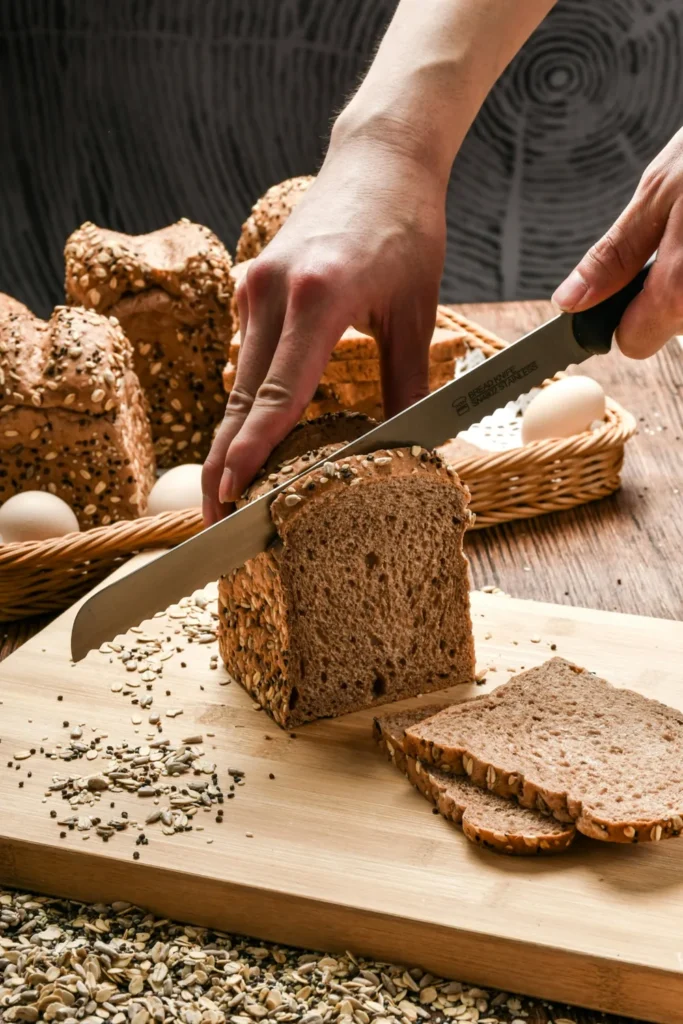
As bread cools, its internal structure continues to set and moisture redistributes throughout the loaf. Cutting into bread while it’s still very hot can leave the crumb sticky or gummy.
Crusty artisan loaves generally benefit from cooling before slicing. Sandwich bread is also easier to cut into neat, even slices once it has cooled completely.
Of course, softer breads such as dinner rolls are often delicious served slightly warm, so you don’t always need to wait until everything reaches room temperature.
When you remove bread from the oven, transfer it to a wire cooling rack so air can circulate underneath. This helps prevent moisture from collecting along the bottom crust.
It takes a little patience, but allowing your bread to cool properly can make a noticeable difference in the finished texture.
Enjoy the Process, Not Just the Finished Loaf
One of the wonderful things about homemade bread is that something so delicious can come from just a handful of everyday ingredients.
And while bread baking can seem intimidating at first, you don’t need expensive equipment or years of experience to make a loaf your family will enjoy.
Start with a reliable recipe, measure your ingredients carefully, and pay attention to how the dough behaves rather than relying entirely on the clock.
Some loaves will turn out beautifully. Others might need a little troubleshooting. That’s part of learning, and every batch gives you a better understanding of how bread works.
Before long, you’ll become more confident with everything from kneading and proofing to knowing when your bread is ready to come out of the oven.
And when you finally cut into that perfectly baked loaf, you’ll know it was worth the effort.
Now, where’s the butter?