
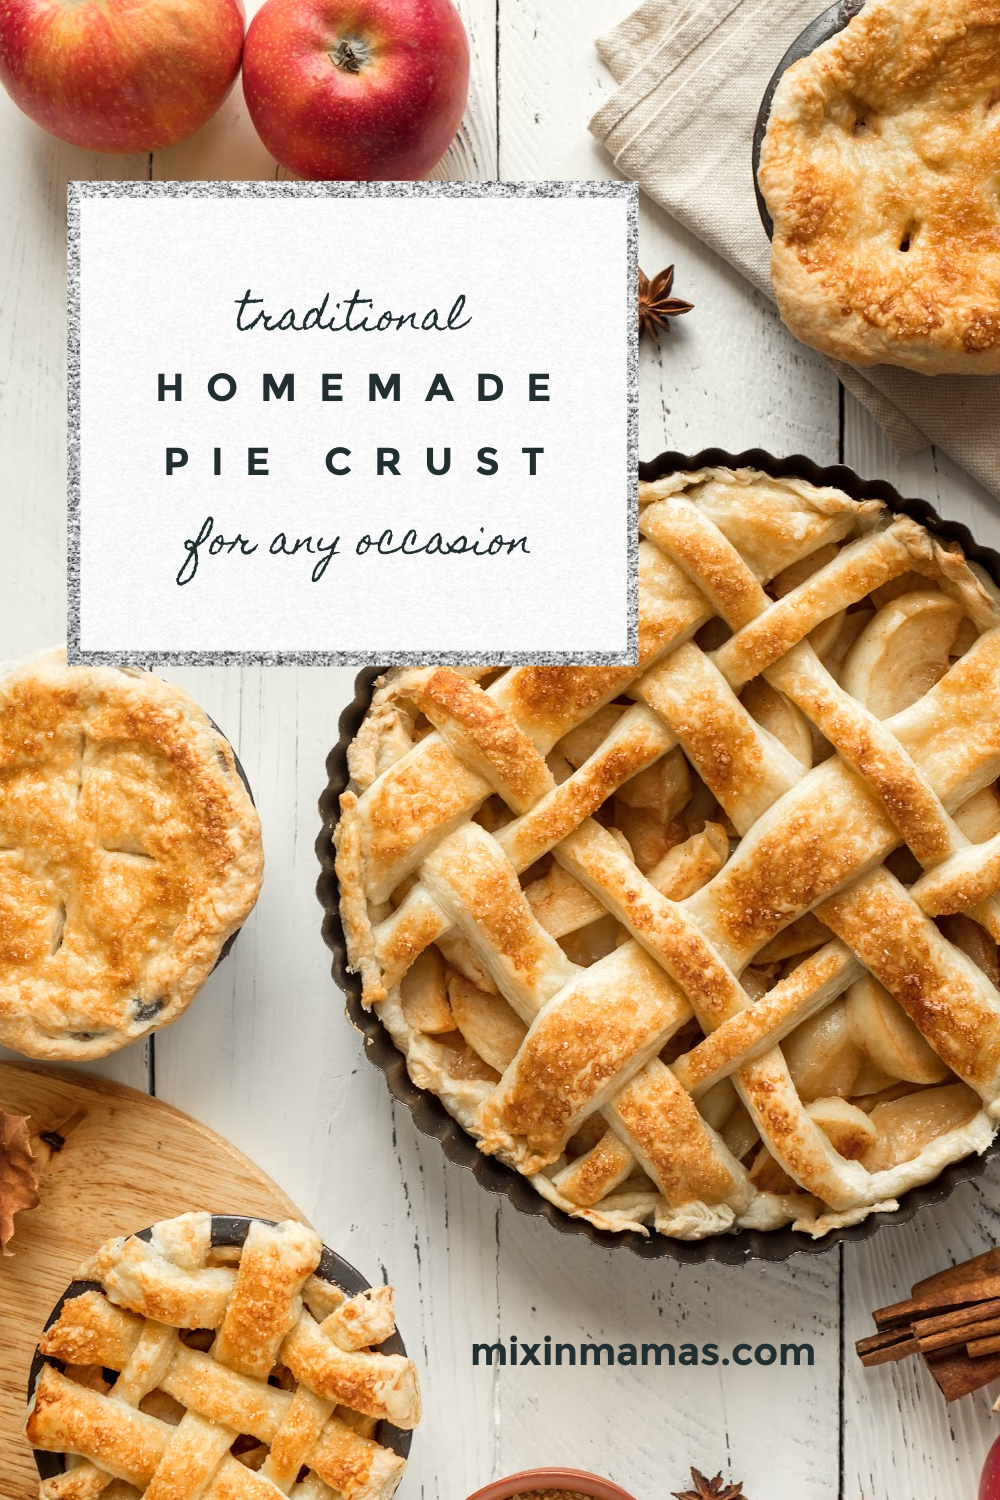
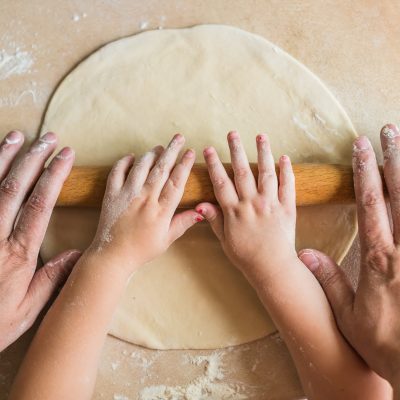
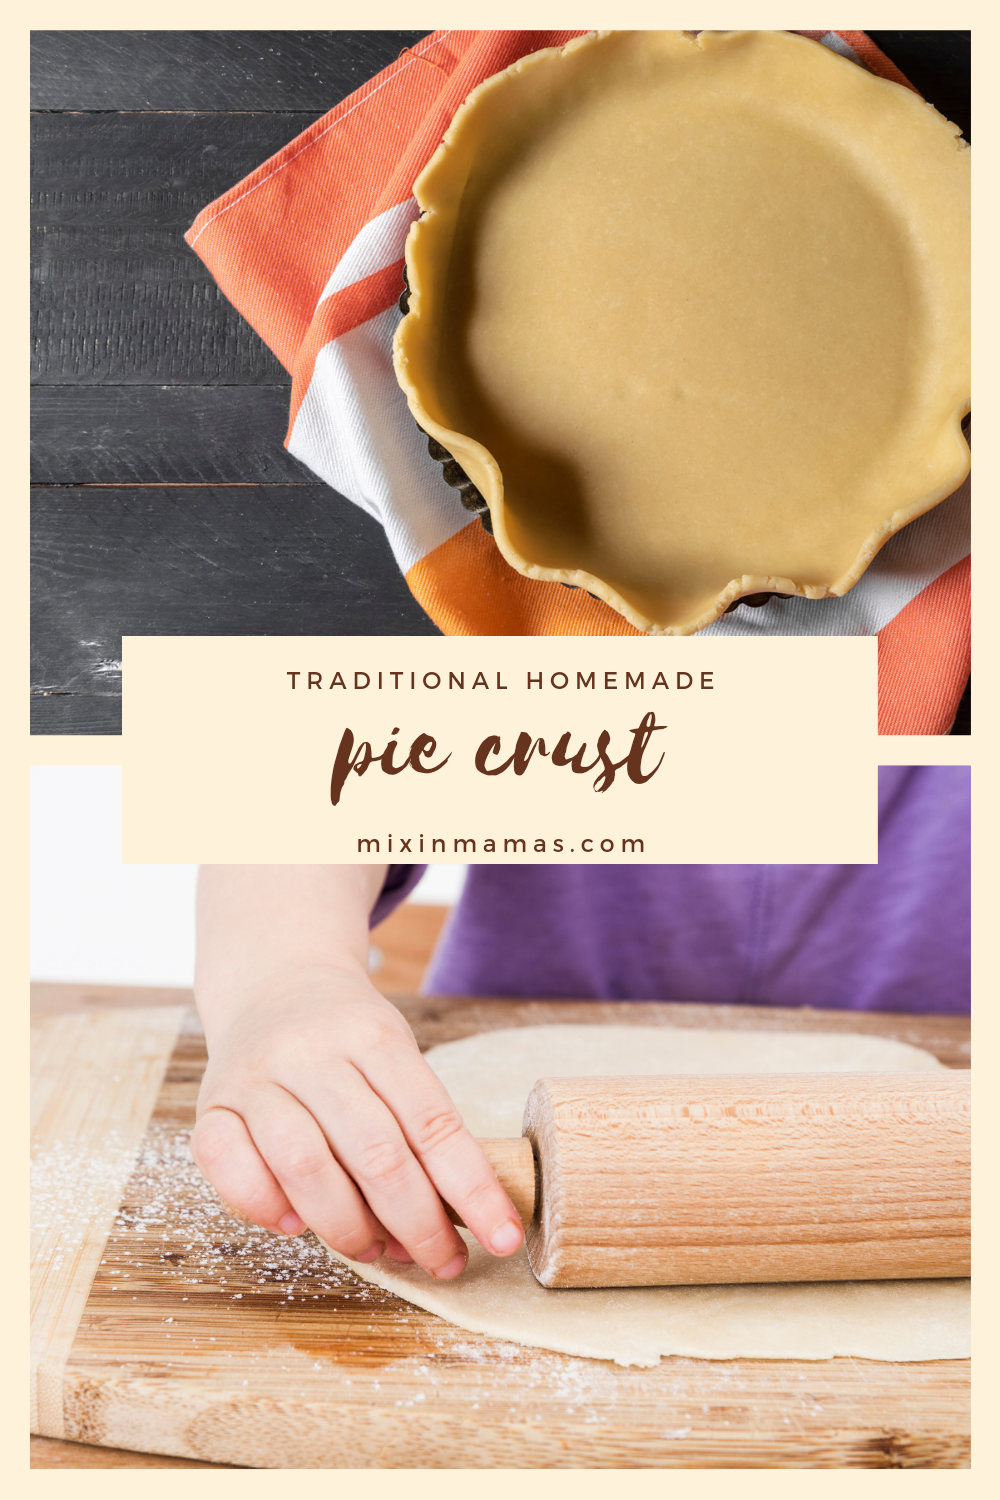
This is a flaky, delicious, homemade pie crust that can be used for any type of pie.
Making the dough only takes about 15 minutes, but you have to refrigerate it for at least one hour before rolling it out.
Once you’ve got this pie crust ready to go, however, you can bake all sorts of delicious pies, like this traditional Louisiana pecan pie or our scrumptious sweet potato bourbon pie.
Want to bake a pie but without all the gluten? Don’t worry, we have a gluten-free pie crust recipe, too! Now you can be gluten-free and have your pie, too!
Traditional Homemade Pie Crust Recipe
Yields 2 crusts
Ingredients
- 2 1/2 cups all-purpose flour
- 1 teaspoon salt
- 3/4 cup Crisco (shortening), cut into small pieces (or 3/4 cup cold unsalted butter cut into small pieces)
- 4 Tablespoons water
- 1 teaspoon sugar
Instructions
Combine the flour, salt and Crisco (or butter) in a food processor and pulse until the mixture resembles coarse crumbs.
With the processor running, slowly add the water until the dough forms into a ball. (You may have to stop and scrape the dough from the sides to be sure it is all blended.)
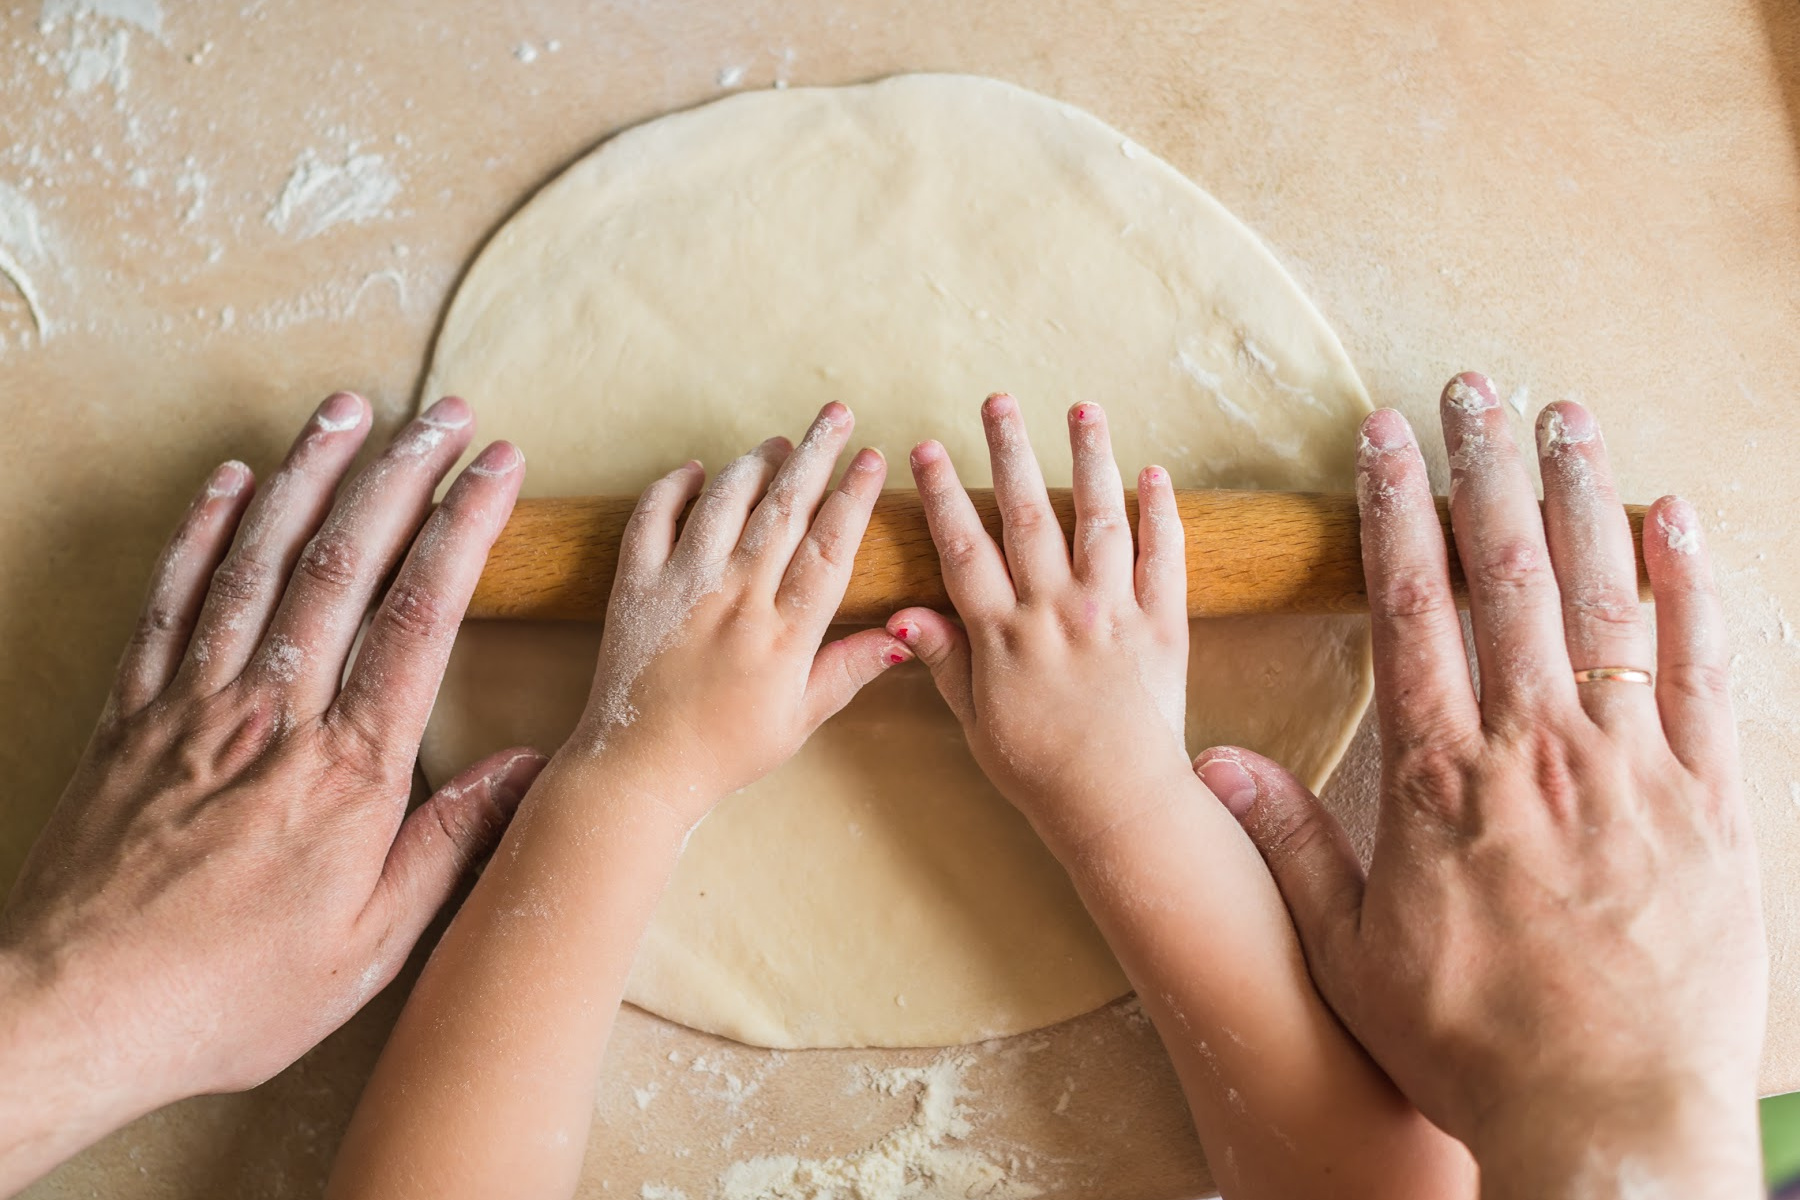
Roll the dough into a ball and divide it in half.
Then, on a lightly floured counter, press each half into a round, somewhat flattened, disk.
Wrap the dough in plastic separating the two disks with waxed paper and refrigerate for at least one hour.
Heat the oven to 450°F degrees.
On a lightly floured surface roll out one pastry disk to a 10-inch round. If you use parchment, butcher paper or freezer paper on the surface and flour that, it will be easier to clean up.
Lightly roll the flattened disk around your rolling pin to move it to the pie pan.
Unroll the flattened crust and carefully fit it into a deep-dish pie pan.
Trim the crust allowing for about a 1-inch overhang.
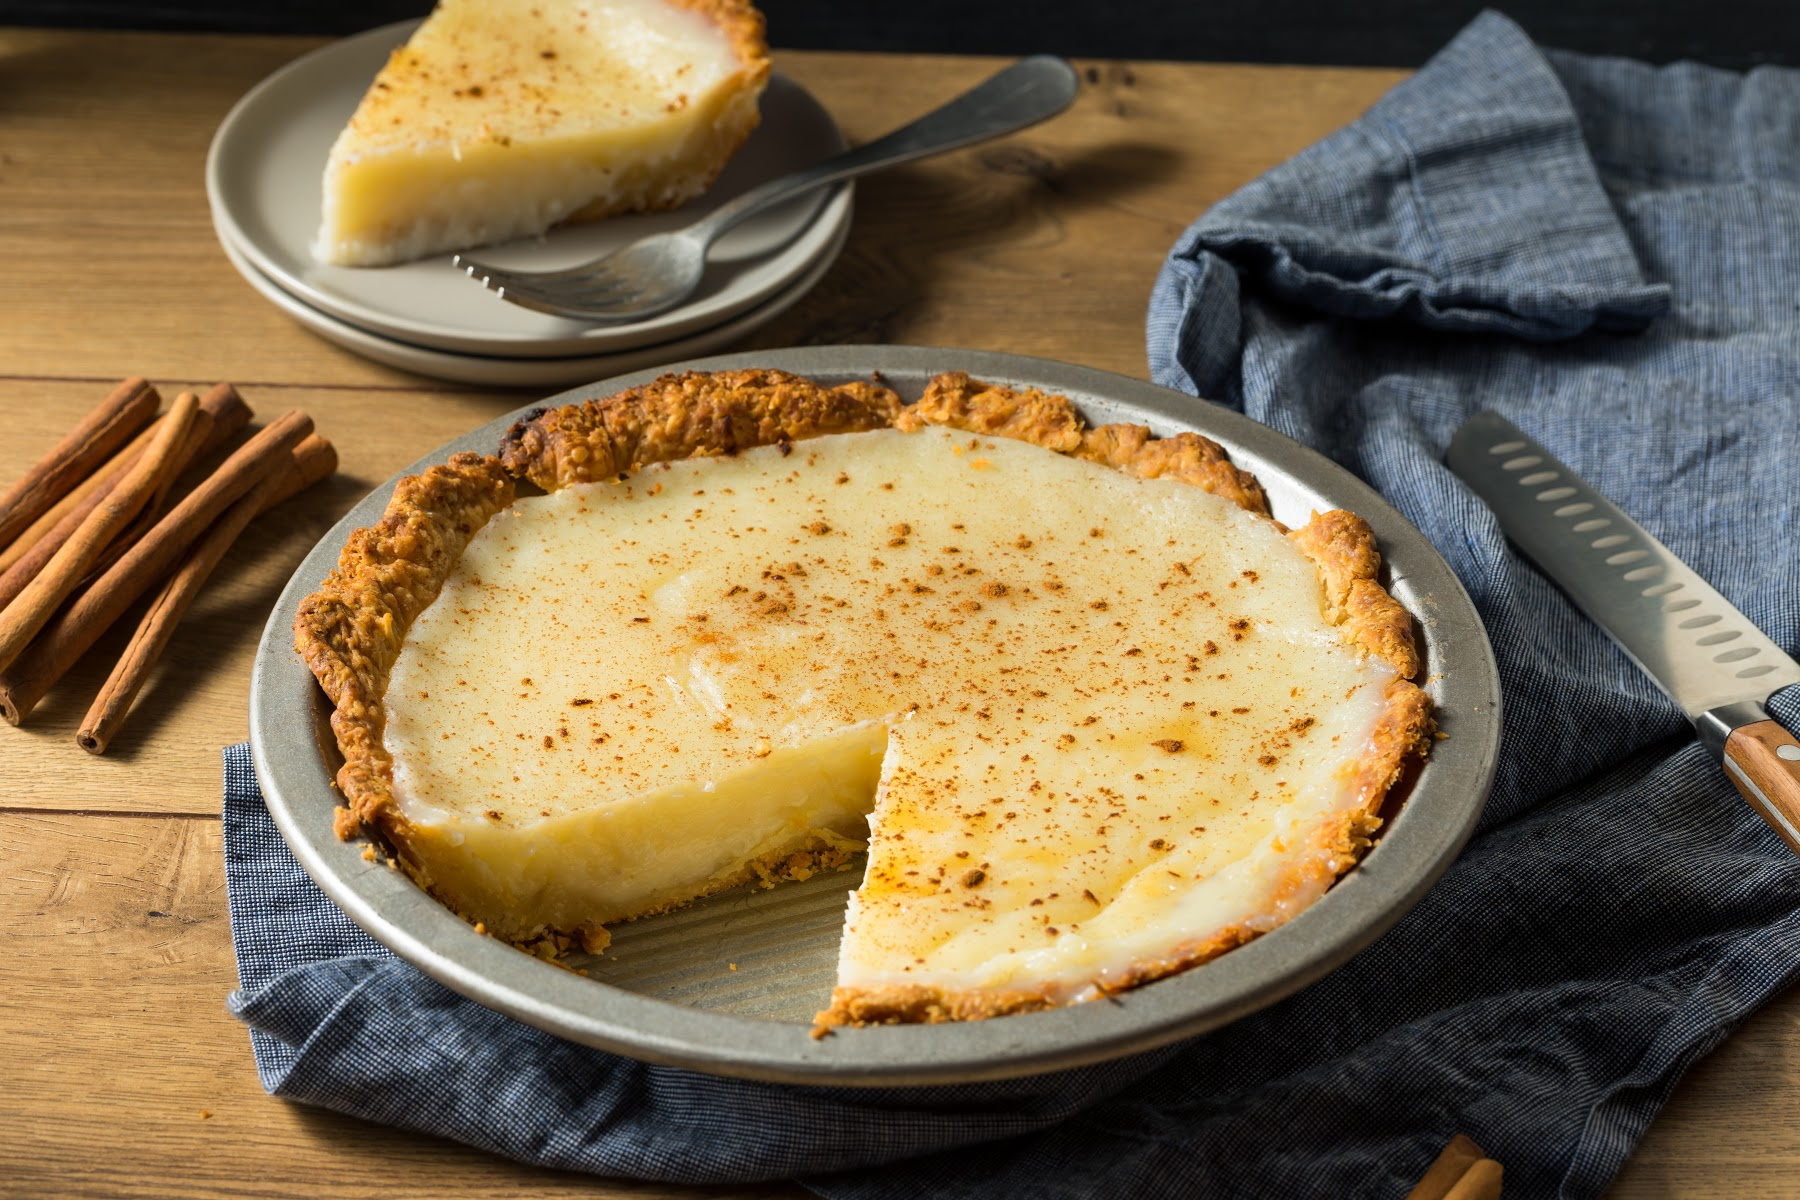
Baking Instructions: Icebox or Custard Pies (Lemon Meringue, Cream Pies, Etc.)
For an icebox pie, the crust must be baked before filling it.
Before baking the pie shell, prick the pie shell several times, place pie weights in the shell, and bake at 350°F degrees for about 15 minutes until it begins to brown.
Remove the pie shell from the oven, take out the pie weights, and cool the crust before filling with cold pie filling.
Refrigerate until serving.
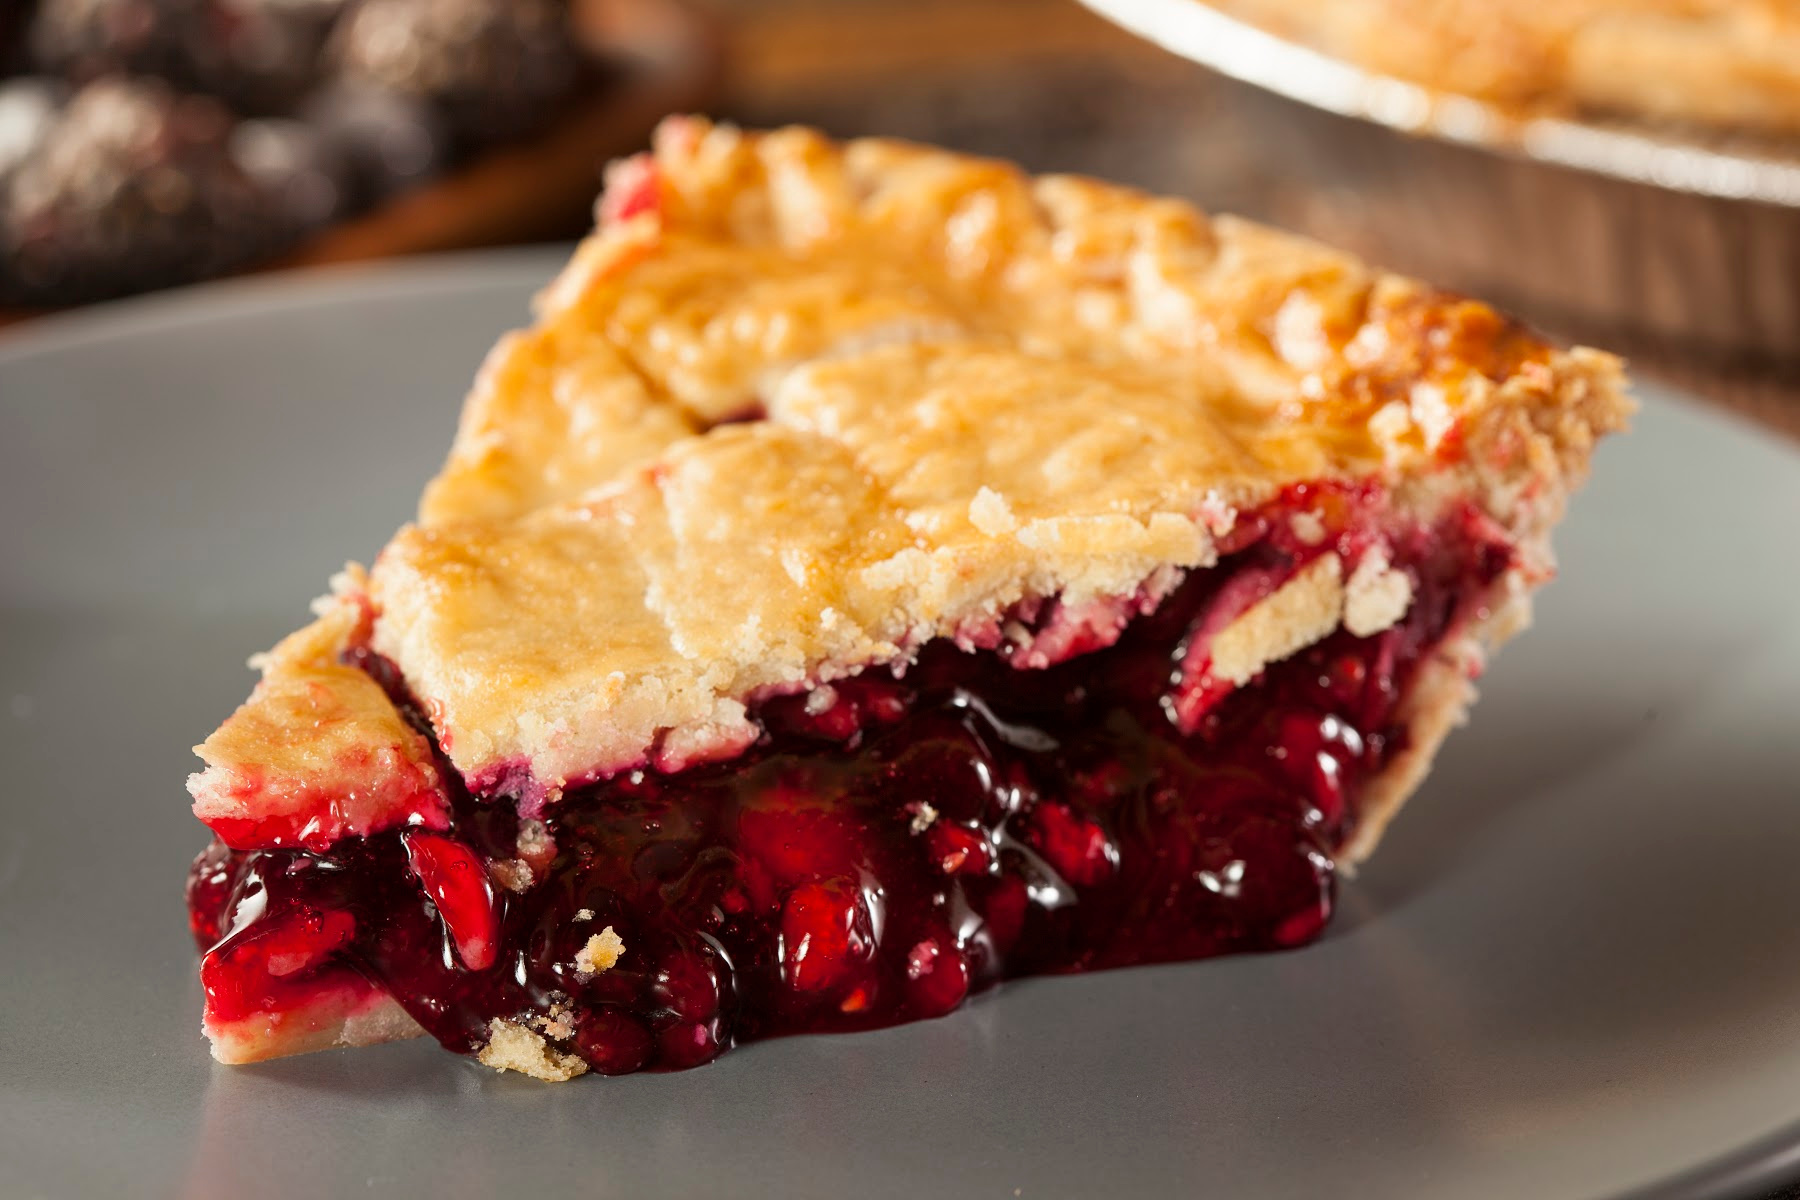
Baking Instructions: Fruit Pies (including Pumpkin, Berry, Apple, Etc.)
For a fruit pie, mound the filling mixture onto the pie shell.
Roll out the other pie crust disk large enough to cover the top pie with some overhang.
Transfer the rolled out crust to the top of the pie.
Trim the top crust, fold the edge under the bottom crust and crimp (pinch) the two together.
Cut 4-5 steam vents in the top crust.
Sprinkle the sugar evenly over the top crust.
Bake at 450°F degrees for 10 minutes; then reduce the temperature to 350°F degrees and bake for 50 minutes longer. (May vary, depending on the type of pie you are making.)
Let the pie cool before cutting into individual serving-size pieces.
What should I fill my homemade pie crust with?
This pie crust works for just about every pie recipe out there. If you’re looking for something delicious to whip up with this crust, why not try this delicious Steak and Guinness Pie or this scrumptious Maple Cheddar Apple Pie.
With so many great pie options out there, you could go an entire day eating nothing but pie! (Am I the only one who thinks that sounds like the perfect day?)
Stay tuned for more great pie recipes, or other great baking ideas and tips!
Traditional Homemade Pie Crust
Ingredients
- 2 1/2 cups all-purpose flour
- 1 teaspoon salt
- 3/4 cup Crisco shortening cut into small pieces (or 3/4 cup cold unsalted butter cut into small pieces)
- 4 Tablespoons water
- 1 teaspoon sugar
Instructions
- Combine the flour, salt and Crisco (or butter) in a food processor and pulse until the mixture resembles coarse crumbs.
- With the processor running, slowly add the water until the dough forms into a ball. (You may have to stop and scrape the dough from the sides to be sure it is all blended.)
- Roll the dough into a ball and divide it in half.
- Then, on a lightly floured counter, press each half into a round, somewhat flattened, disk.
- Wrap the dough in plastic separating the two disks with waxed paper and refrigerate for at least one hour.
- On a lightly floured surface roll out one pastry disk to a 10-inch round. If you use parchment, butcher paper or freezer paper on the surface and flour that, it will be easier to clean up.
- Lightly roll the flattened disk around your rolling pin to move it to the pie pan.
- Unroll the flattened crust and carefully fit it into a deep-dish pie pan.
- Trim the crust allowing for about a 1-inch overhang.
Baking Instructions: Icebox or Custard Pies (Lemon Meringue, Cream Pies, Etc.)
- For an icebox pie, the crust must be baked before filling it.
- Before baking the pie shell, prick the pie shell several times, place pie weights in the shell, and bake at 350°F degrees for about 15 minutes until it begins to brown.
- Remove the pie shell from the oven, take out the pie weights, and cool the crust before filling with cold pie filling.
- Refrigerate until serving.
Baking Instructions: Fruit Pies (including Pumpkin, Berry, Apple, Etc.)
- For a fruit pie, mound the filling mixture onto the pie shell.
- Roll out the other pie crust disk large enough to cover the top pie with some overhang.
- Transfer the rolled out crust to the top of the pie.
- Trim the top crust, fold the edge under the bottom crust and crimp (pinch) the two together.
- Cut 4-5 steam vents in the top crust.
- Sprinkle the sugar evenly over the top crust.
- Bake at 450°F degrees for 10 minutes; then reduce the temperature to 350°F degrees and bake for 50 minutes longer. (May vary, depending on the type of pie you are making.)
- Let the pie cool before cutting into individual serving-size pieces.
Nutrition
Leave a Reply